

Staining your deck can transform your Pleasant Hill, CA home’s outdoor space. It can enhance its beauty and protect it from the elements at the same time. Achieving a professional finish doesn’t have to be a time-consuming task. In this article, we’ll share practical deck staining tips that will help you complete the job quickly and efficiently.
Whether you’re a seasoned DIY enthusiast or a first-time deck owner, these expert techniques will guide you through the process, ensuring a flawless and lasting result. Get ready to enjoy a beautifully stained deck that you can be proud of.
Preparation Tips
Proper preparation is the key to a successful deck staining project. Taking the time to prepare your deck thoroughly will ensure the stain adheres well and provides lasting protection. Here are the essential steps to prepare your deck for staining:
1. Inspect the Deck
Before you begin, inspect your deck for any damage or issues that need attention:
- Check for Loose Boards and Nails: Secure any loose boards and drive in or replace protruding nails.
- Look for Cracks and Splinters: Sand down splinters and fill any cracks with wood filler.
2. Clean the Deck
Cleaning your deck is crucial to remove dirt, mildew, and old stains. A clean surface allows the new stain to penetrate and adhere properly.
- Sweep the Deck: Remove leaves, dirt, and debris with a broom.
- Wash the Deck: Use a deck cleaner or a mixture of mild detergent and water. For stubborn stains or mildew, consider using a power washer. Be sure to follow the manufacturer’s instructions for any cleaning product you use.
3. Let the Deck Dry
After cleaning, it’s important to let the deck dry completely. Staining a wet deck can lead to uneven results and poor adhesion.
- Check the Weather: Ensure there’s no rain forecast for at least 48 hours. The deck should be dry for at least 24-48 hours before you begin staining.
- Test for Moisture: You can use a moisture meter to check if the wood is dry enough for staining. Ideally, the moisture content should be below 15%.
4. Sand the Deck (If Necessary)
If your deck has rough spots or old stains that are peeling, sanding can help create a smooth surface for the new stain.
- Use the Right Grit: For most decks, 60-80 grit sandpaper is suitable. Use a power sander for large areas and a sanding block for edges and corners.
- Clean Up Dust: After sanding, sweep and rinse the deck to remove all dust.
5. Protect Surrounding Areas
Staining can be messy, so it’s wise to protect any plants, furniture, or siding around the deck.
- Cover Plants and Furniture: Use plastic sheets or drop cloths to cover nearby plants and furniture.
- Tape Off Edges: Use painter’s tape to protect areas where the deck meets the house or other structures.
By following these preparation steps, you’ll set the foundation for a smooth and successful staining process, ensuring your deck looks great and stands the test of time.
Choosing the Right Stain
Selecting the right stain for your deck is crucial to achieving a beautiful, durable finish. With a variety of options available, it’s important to understand the differences and choose the one that best suits your needs. Here are the key factors to consider when choosing a deck stain:
Types of Deck Stains
Deck stains come in several types, each offering different levels of protection and appearance.
- Transparent Stains: These stains provide minimal color but highlight the natural beauty and grain of the wood. They offer basic protection against moisture and UV rays.
- Semi-Transparent Stains: These allow some of the wood grain to show through while adding a bit more color and providing better protection against the elements.
- Semi-Solid Stains: These provide a richer color and more UV protection while still allowing some of the wood’s texture to be visible.
- Solid Stains: These offer the most color and protection, covering the wood completely while hiding most of the grain. Solid stains are ideal for imperfections in older decks.
Oil-Based vs. Water-Based Stains
Another consideration is whether to choose an oil-based or water-based stain. Each has its pros and cons.
Oil-Based Stains:
- Pros: Penetrate deeply into the wood, providing excellent protection and durability. They are easier to apply and typically last longer.
- Cons: Longer drying times and require mineral spirits for cleanup. They can also emit strong fumes and are less environmentally friendly.
Water-Based Stains:
- Pros: They dry quickly, are easy to clean up with soap and water, and have lower VOC emissions, making them more environmentally friendly. They also offer good UV protection.
- Cons: Do not penetrate as deeply as oil-based stains and may not last as long. They can also raise the wood grain, requiring additional sanding.
Color Choice
The color of the stain can dramatically impact the appearance of your deck. When choosing a color, consider:
- Existing Elements: Choose a stain color that complements your Orinda, CA home’s exterior, landscaping, and outdoor furniture.
- Wood Type: Different wood types absorb stains differently. Test a small area to see how the color looks on your specific wood.
- Maintenance: Darker stains can show wear and tear more easily, while lighter stains may require more frequent reapplication.
UV and Mildew Protection
Ensure the stain you choose offers protection against UV rays and mildew. UV protection helps prevent the wood from graying, while mildew resistance keeps the wood looking clean and extends its lifespan.
Brand and Quality
Investing in a high-quality stain from a reputable brand can make a significant difference in the longevity and appearance of your deck. Read Walnut Creek, CA area contractor reviews, ask for recommendations, and choose a product known for its durability and performance.
Application Method
Consider how you plan to apply the stain. Some stains are formulated for brush application, while others are suitable for sprayers or rollers. Make sure the stain you choose is compatible with your preferred application method.
Staining Process Tips
The staining process is where all your preparation and planning come together to transform your deck. Following a systematic approach will help ensure a professional even finish that last. Here are the steps to stain your deck effectively:
1. Gather Your Supplies
Before you begin, make sure you have all the necessary supplies:
- Stain
- Brushes, rollers, or a sprayer
- Drop cloths or plastic sheeting
- Painter’s tape
- Stir sticks
- Safety gear (gloves, goggles, mask)
- Rags for cleanup
2. Stir the Stain
Properly mixing your stain is crucial for an even color application. Use a stir stick to thoroughly mix the stain. Avoid shaking, as it can create bubbles that lead to an uneven finish. Continue stirring the stain occasionally during the application to maintain consistency.
3. Test a Small Area
Before staining the entire deck, test a small, inconspicuous area to ensure the color and finish meet your expectations. Use your chosen application method to apply a bit of stain to a hidden spot. Allow it to dry completely, and evaluate the color and finish. Adjust if necessary.
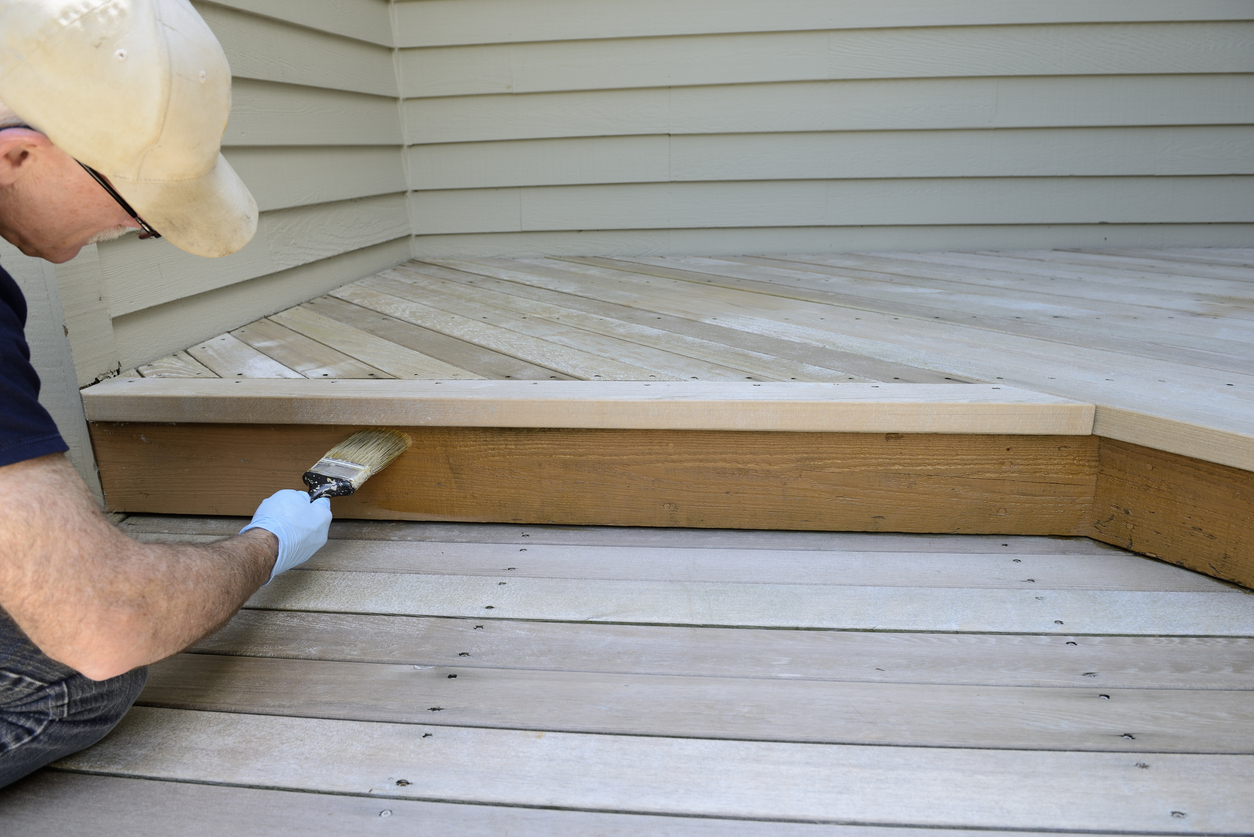
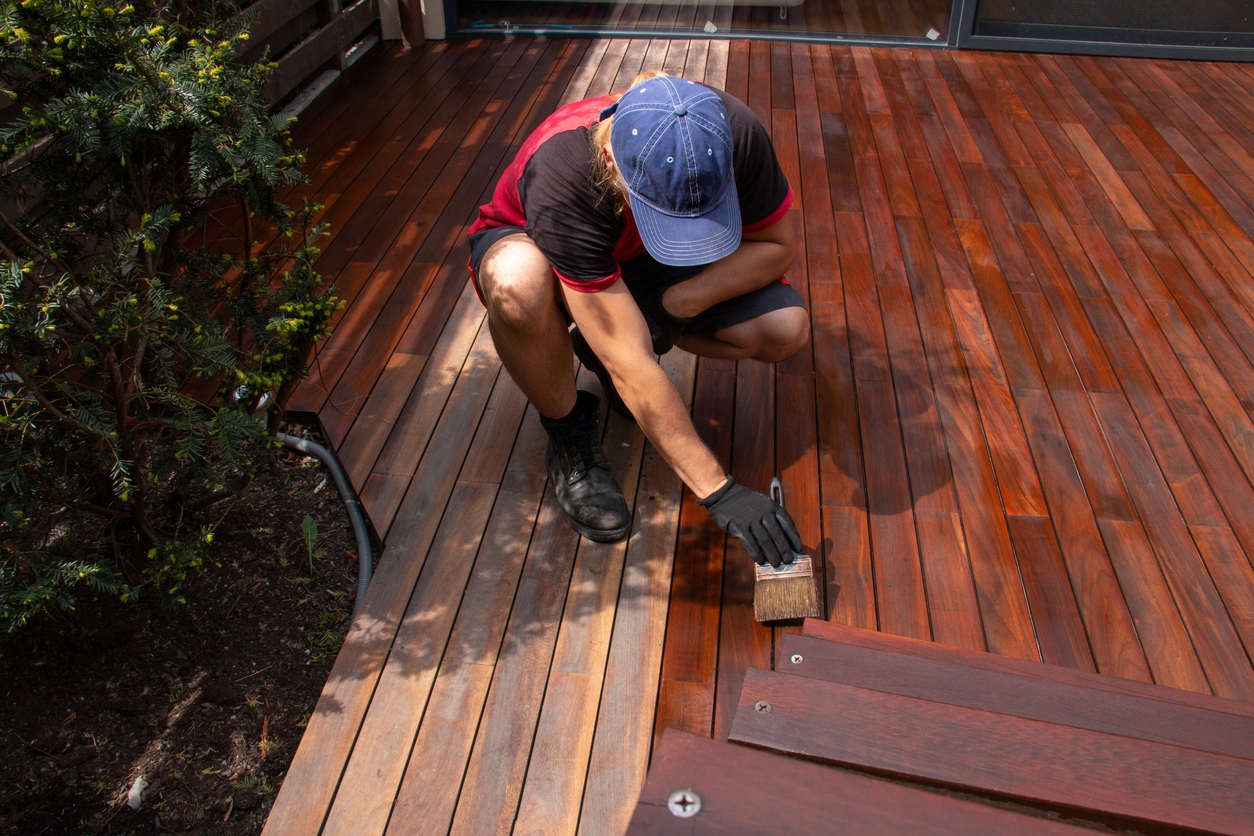
4. Apply the Stain
With your supplies ready and your test spot approved, you can start staining the deck.
Method 1: Using a Brush or Roller
- Start with the Railings and Trim: Begin by staining the railings, posts, and any trim. Use a brush for better control in these detailed areas.
- Move to the Deck Boards: Work on a few boards at a time, staining the entire length of each board to avoid lap marks.
- Apply Evenly: Apply the stain evenly, maintaining a wet edge to prevent streaks. Use long, smooth strokes for a consistent finish.
Method 2: Using a Sprayer
- Protect Surrounding Areas: Cover nearby plants, furniture, and surfaces to protect them from overspray.
- Use a Steady Hand: Hold the sprayer nozzle about 12 inches from the deck surface and move it steadily back and forth.
- Back-Brush for Penetration: After spraying, use a brush or roller to back-brush the stain into the wood. This helps ensure even coverage and penetration.
5. Address Any Missed Spots
After the initial application, inspect the deck for any missed spots or areas that need touch-ups. Use a brush to touch up any missed areas while the stain is still wet to ensure seamless blending.
6. Allow to Dry
Proper drying time is essential for a durable finish. Refer to the stain manufacturer’s guidelines for recommended drying times. Keep foot traffic off the deck for at least 24-48 hours, or as directed by the product instructions, to allow the stain to cure properly.
7. Apply a Second Coat (If Needed)
Some stains may require a second coat for optimal protection and appearance. Ensure the first coat is completely dry before applying the second coat. Apply the second coat using the same method as the first, ensuring even coverage.
8. Clean Up
Once the staining is complete, clean up your workspace and supplies. Follow local guidelines for disposing of used rags and leftover stains. Some materials may be flammable or require special handling. Clean your brushes, rollers, or sprayers according to the stain type (water-based or oil-based).
By following these steps, you can achieve a professional-looking stain that enhances the beauty and longevity of your deck.
Conclusion
When you follow the right steps, staining your deck can be a straightforward and rewarding project. By preparing your deck, choosing the appropriate stain, and applying it carefully, you can achieve a beautiful and durable finish that enhances your outdoor space.
If you need professional assistance or have any questions about deck staining, don’t hesitate to contact Custom Painting, Inc. Call us at 925-686-0903 or fill out our contact form to get started. Let our experts help you create the perfect deck!