
If your home is over 40 years old, it probably has popcorn ceilings. Also known as acoustic or textured ceilings, popcorn ceilings were popular from the 1950s to the 1980s in the Pleasant Hill, CA area. They are characterized by a bumpy, textured appearance, often created by spraying a mixture of drywall compound and polystyrene onto the ceiling. Initially, they were favored for their ability to hide imperfections and absorb sound.
Common reasons homeowners consider painting popcorn ceilings
Homeowners in Walnut Creek often paint popcorn ceilings to refresh and modernize their appearance, conceal stains or discoloration, and avoid the messy and costly process of removing the texture. Painting can also help seal any loose or deteriorating texture, preventing it from flaking off. Custom Painting, Inc. has experience removing acoustic ceilings through out the Bay area including Pleasant Hill, Lafayette, Moraga, Orinda, Walnut Creek, and Concord.
Should you paint a popcorn ceiling?
Like other home improvement projects, painting a popcorn ceiling has pros and cons:
Pros:
- Cost-effective refresh: A quick and budget-friendly way to update the look of your ceiling.
- Preserves texture: Retains the unique textured appearance.
- Seals dust or asbestos: It helps lock in dust or hazardous materials like asbestos, preventing them from becoming airborne.
Cons:
- Uneven coverage: The texture can make it challenging to achieve even paint coverage.
- Smooth finish difficulty: It’s challenging to get an even and professional finish due to the rough texture.
- Messy and time-consuming: The process can be labor-intensive and sloppy, with the risk of paint drips and splatter.
Preparing the popcorn ceiling for painting
When preparing a popcorn ceiling for painting, follow a systematic approach to ensure the best results and avoid potential hazards.
1. Assessing the condition of the ceiling
- Checking for damage: Inspect the ceiling for cracks, holes, or water stains. If you find any damage, repair it before painting. You can fill small cracks with a lightweight spackle or patching compound. Water stains may require a stain-blocking primer.
- Asbestos testing: If your popcorn ceiling was installed before the 1980s, it may contain asbestos, which poses serious health risks when disturbed. Before proceeding with any work, test the ceiling for asbestos. You can purchase an asbestos testing kit or hire a professional to perform the test. If asbestos is present, you should hire a licensed asbestos abatement contractor to handle the ceiling safely.
2. Cleaning the ceiling
- Removing dust and cobwebs: Popcorn ceilings tend to collect dust, cobwebs, and grime over time. Start by gently brushing the surface with a soft-bristle broom or a vacuum cleaner with a brush attachment. Be careful not to apply too much pressure, as doing so could cause the texture to flake off.
- Deep cleaning: For more stubborn dirt or stains, you can use a solution of warm water and mild dish soap. Dampen a sponge or cloth and gently wipe the ceiling. Avoid soaking the ceiling, as excessive moisture can cause the popcorn texture to soften and dislodge. Allow the ceiling to dry completely before moving on to the next step.
3. Protecting the room
- Covering furniture, floors, and walls: Popcorn ceilings can be messy to work with, so it’s essential to protect the room before painting. Move as much furniture out of the room as possible. Cover any remaining furniture with plastic sheeting or drop cloths.
- Protecting floors: Lay down drop cloths or plastic sheeting to protect the floor from paint splatters. Ensure the cloths cover the entire floor area and overlap at the edges to avoid any exposed spots.
- Taping walls and fixtures: Use painter’s tape to mask off the edges of the ceiling where it meets the walls. To protect light fixtures, ceiling fans, or vents from paint, use plastic bags or painter’s tape.
Choosing the right paint and tools
When painting popcorn ceilings, selecting the right paint and tools is crucial for achieving a smooth, even finish:
1. Types of paint suitable for popcorn ceilings
- Flat or matte latex paint: These types of paint are ideal because they do not reflect light, which helps to hide imperfections and gives the ceiling a uniform appearance. Flat or matte finishes also adhere well to the textured surface of popcorn ceilings.
2. Tools needed for the job
- Roller with a thick nap: A roller with a thick nap (typically 3/4 inch or more) is essential for reaching into the crevices of the textured surface and ensuring even coverage.
- Extension pole: An extension pole helps you reach the ceiling without requiring a ladder, allowing smoother, more consistent strokes.
- Paint sprayer (optional): A paint sprayer can be an excellent tool for popcorn ceilings, providing an even application with less physical effort. It is useful for large areas or when you want to avoid the risk of dislodging the texture with a roller.
Painting techniques for popcorn ceilings
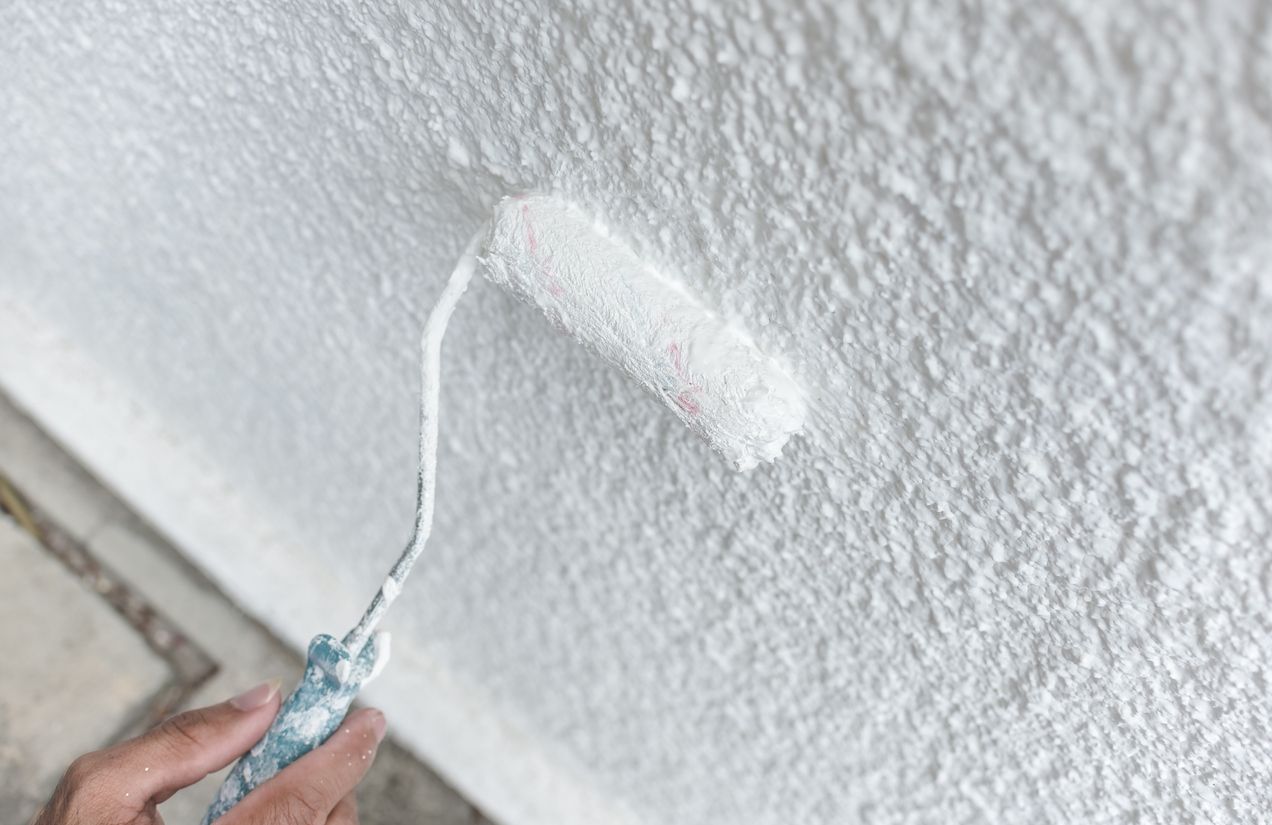
1. Using a roller
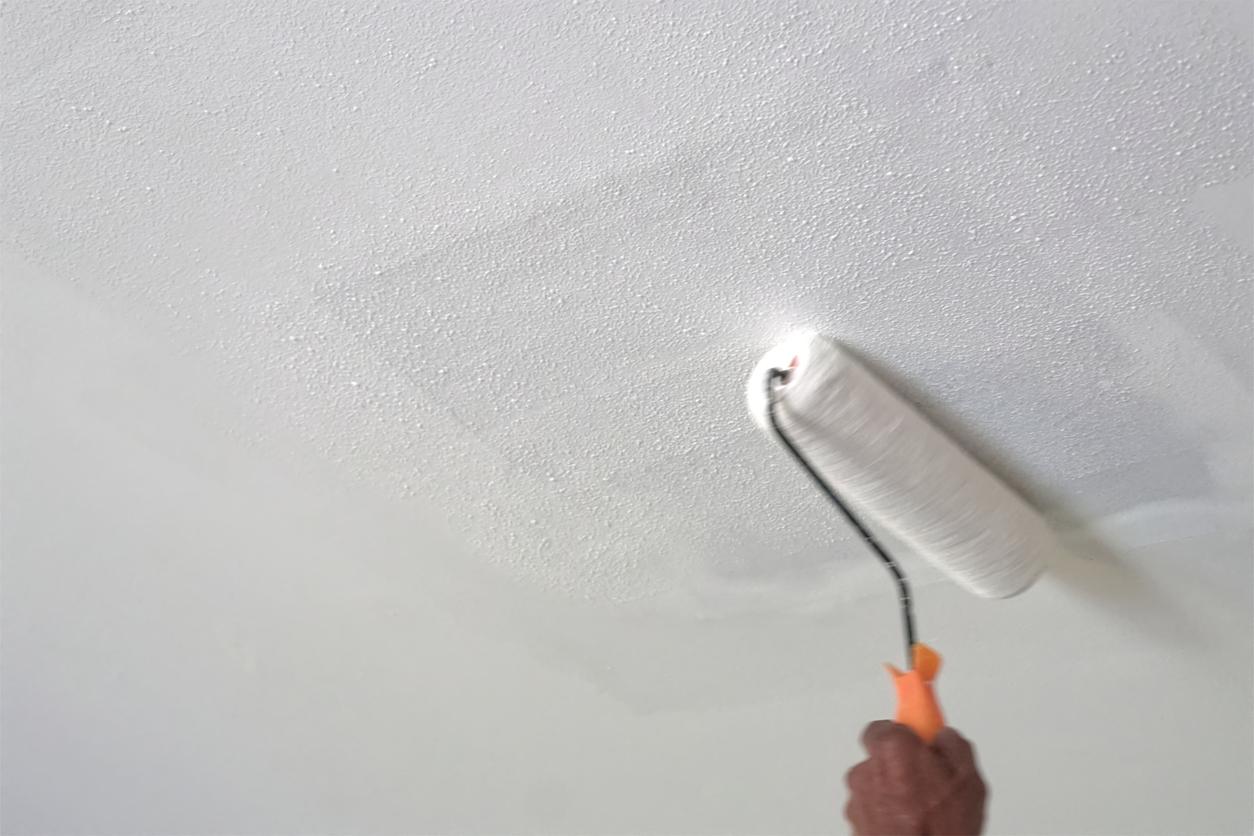
- Proper rolling technique: When using a roller on a popcorn ceiling, avoid dislodging the texture. Use a thick nap roller (¾ inch or more) designed for textured surfaces. Roll gently in one direction without pressing too hard. Doing so helps prevent knocking off the popcorn texture.
- Multiple thin coats: Apply multiple thin coats rather than a single thick one. It ensures even coverage and reduces the risk of soaking the texture, which can cause it to peel or fall off. Let each coat dry completely before applying the next coat.
2. Using a paint sprayer
- Advantages: A paint sprayer provides even coverage without disturbing the texture of the popcorn ceiling. It can also reach into the crevices and uneven areas that a roller might miss, resulting in a more uniform finish.
- Safety precautions and setup: When using a sprayer, cover walls, floors, and furniture with plastic sheeting to protect them from overspray. Wear a mask and goggles to avoid inhaling paint particles, and ensure the room is well-ventilated. Practice on a piece of cardboard first to adjust the sprayer for the desired coverage and avoid applying too much paint at once.
Addressing common issues
When painting popcorn ceilings, here’s how to address common issues:
Dealing with uneven coverage
- Techniques for touch-ups: Use a roller with a thick nap (about ¾-inch) designed for textured surfaces. If you notice uneven coverage, let the first coat dry completely before applying a second coat. For touch-ups, lightly dab the roller in the area needing extra paint rather than using broad strokes. Doing so minimizes disruption to the texture.
- Additional coats: Apply additional thin coats rather than trying to achieve full coverage in one go. Each layer should be allowed to dry thoroughly to avoid clumping or dripping, which can emphasize the texture inconsistently.
Fixing damaged or peeling areas:
- Spot repairs: If you have small damaged or peeling sections, carefully remove the loose material by scraping with a putty knife. Be gentle to avoid disturbing surrounding areas. Apply a thin coat of popcorn ceiling patch or drywall compound, then lightly texture to match the surrounding area using a sponge or stipple brush.
- Retexturing tips: After patching, let the area dry, then prime it before repainting. For larger damaged sections, consider using a spray texture product to match the original popcorn finish better. Ensure the repair area blends seamlessly with the rest of the ceiling before applying paint.
Maintenance and longevity
Maintaining painted popcorn ceilings involves regular care to preserve their appearance and ensure longevity:
Regular cleaning and care
- Dusting and gentle vacuuming: Popcorn ceilings can accumulate dust and cobwebs over time. To clean them, use a soft-bristle brush or a vacuum cleaner with a brush attachment. Gently vacuum the surface to avoid disturbing the texture. Dusting with a microfiber cloth or a static duster can also help keep the ceiling clean without causing damage.
Touch-up tips for maintaining appearance
- Matching paint: If the ceiling gets stained or discolored, it’s important to use matching paint for touch-ups. Keep a small amount of the original paint for future use, or take a sample to a paint store for a custom match.
- Spot painting: Use a small brush or a sponge to carefully apply paint to the affected areas, blending it into the surrounding texture. Avoid overloading the brush with paint to prevent drips or excessive buildup.
- Protecting the texture: Be gentle when applying paint to avoid flattening the popcorn texture. Dab the paint on lightly rather than brushing it on.
Regular maintenance and careful touch-ups can help keep a painted popcorn ceiling looking fresh for many years.
Conclusion
While painting popcorn ceilings can be a cost-effective way to refresh a space, weigh the pros and cons carefully. Consider the potential challenges, such as the mess and the difficulty of achieving an even finish, against the benefits of a quick and budget-friendly update.
If you’re unsure or need expert assistance, don’t hesitate to contact our expert team at Custom Painting, Inc. Call us at 925-686-0903 or use our contact form for professional advice or high-quality paint service.