

Successful professional house painters in the Concord, CA area have individual approaches to getting things done on time and within budget. However, they stick to the same rules and tricks that they cannot do without (and that DIYers can learn from). They often face a wide array of challenges including cabinet refinishing and painting, wood rot repair and l
Professional painters in Pleasant Hill, CA have honed their craft through years of experience, and they often have a set of “secrets” or best practices that can significantly enhance the quality of a DIY paint job. They won’t usually tell these “secrets” as part of the trade, but Custom Painting, Inc. is happy to share them with you. Check them out and be surprised at how uncomplicated they are.
1. Wait for dry weather
Why it matters: Humidity and dampness can significantly affect paint adhesion and drying times. Professional painters always check the weather forecast before starting a project. Dry conditions and moderate temperatures are optimal to ensure the paint cures properly.
DIY tip: If unsure, a simple way to test humidity is to feel the air. If it feels sticky or you see moisture on surfaces, it’s best to wait for a clearer day.
2. Clear the room
Why it matters: Professionals know that moving furniture out of the room creates a safer and more efficient workspace. It minimizes the risk of accidents and allows for easier access to walls.
DIY tip: If you can’t move heavy furniture, shift it to the center of the room and cover it thoroughly with drop cloths.
3. Protect furniture
Why it matters: Even the most careful painter can spill paint. Protecting furniture with drop cloths or plastic sheeting prevents damage and makes cleaning up easier.
DIY tip: Use painter’s tape to secure the edges of your drop cloths to the floor to keep them in place.
4. Clean the walls before painting
Why it matters: Dirt, grease, and other contaminants can prevent paint from adhering properly. Professional painters always clean surfaces to ensure the best bond.
DIY tip: Mix water and mild soap or a specialized cleaner. Rinse with clean water and let the walls dry completely before painting.
5. Fix wall imperfections, even the smallest ones
Why it matters: Professionals meticulously fill holes and cracks. Ignoring even minor imperfections can lead to an uneven finish and an unprofessional look.
DIY tip: Use spackle or joint compound to fill holes and sand smoothly once dry. Never skip this step, as it can significantly improve the final appearance.
6. Buy only quality paint brushes and rollers

Why it matters: High-quality tools yield better results. Professional brushes and rollers hold more paint and apply it evenly, leading to a smoother finish.
DIY Tip: Invest in synthetic brushes for water-based paints and natural bristle brushes for oil-based paints.
7. Use high-grade paints and primers
Why it matters: Quality paints and primers improve the final look and enhance durability and coverage. Professionals often choose brands known for their performance.
DIY tip: While it might be tempting to buy cheaper options, the investment in quality paint can save you time and money in the long run.
8. Use a tinted primer
Why it matters: Tinted primers help achieve a truer color and can enhance the coverage of the topcoat. They are beneficial when transitioning from dark to light colors.
DIY tip: Ask the paint store to tint the primer to a shade that closely matches your topcoat color to minimize the number of coats needed.
9. Use only painter’s tape
Why it matters: Painter’s tape is designed to provide clean lines and can be removed without damaging the surface. Other tapes may leave residue or peel paint off.
DIY tip: Press the painter’s tape down firmly to prevent paint from seeping underneath.
10. Use a putty knife to press tape
Why it matters: Professionals use a putty knife to ensure painter’s tape is securely adhered to the surface, which helps create crisp lines.
DIY tip: After applying the tape, run the flat edge of a putty knife along it to seal the edges properly.
11. Paint the trim first
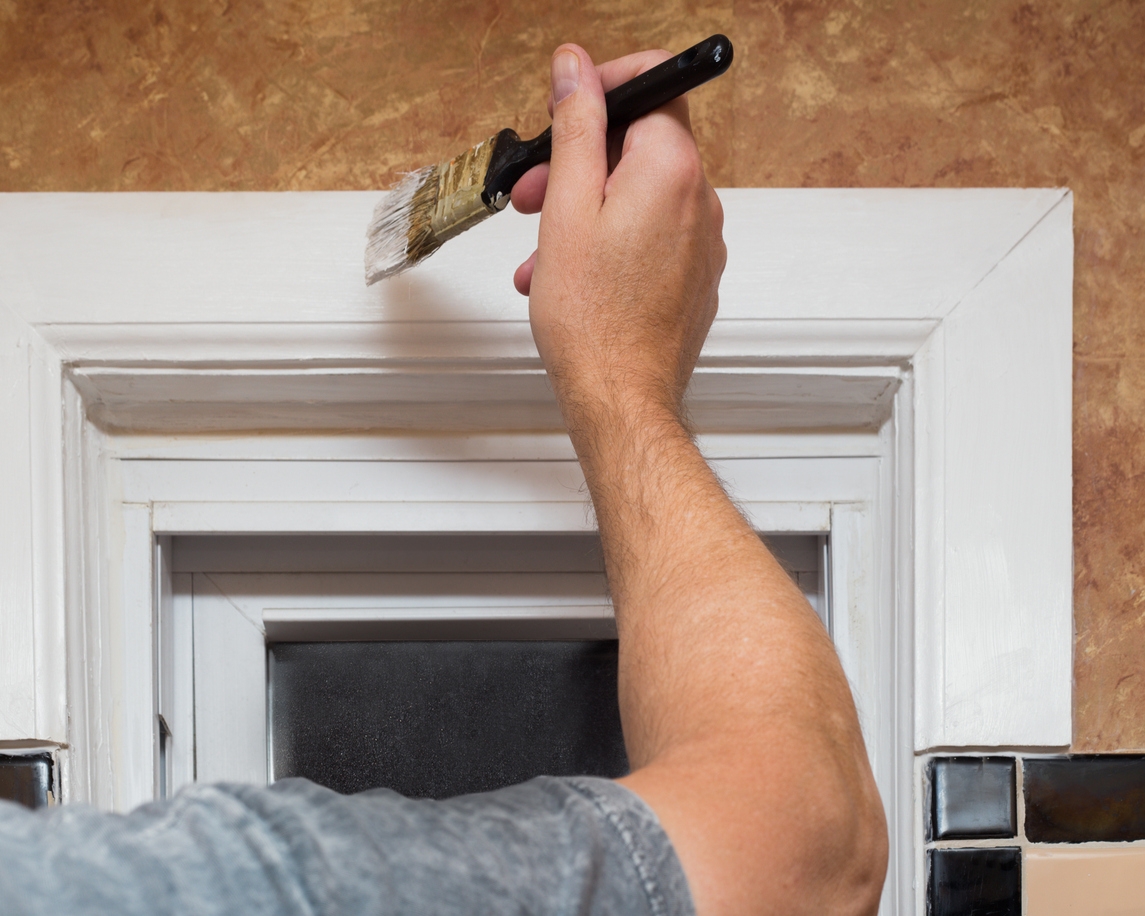
Why it matters: Painting the trim before the walls prevents drips and allows for cleaner lines. Professionals often start with the most intricate areas to ensure precision.
DIY tip: To achieve an even coat, use a brush for detailed areas and a roller for flat trim.
12. Load up your paint brush and roller right
Why it matters: Properly loading tools prevents over-saturation, which can lead to drips, or under-saturation, which can cause uneven application.
DIY tip: Dip the brush or roller into the paint, then tap it against the side of the can to remove excess. For rollers, roll on a tray’s ribbed surface to distribute paint evenly.
13. Don’t forget to caulk
Why it matters: Caulking gaps and joints provides a polished look and prevents moisture from seeping in, which can cause mold and damage.
DIY tip: Choose a paintable caulk for a seamless finish, and apply it before painting.
14. Start at the top of the walls
Why it matters: Working from top to bottom ensures that any drips or splatters fall onto areas that you will paint later, minimizing cleanup.
DIY tip: To achieve a consistent finish, use a roller for large areas and a brush for corners and edges.
15. Use the “W” method when rolling paint
Why it matters: The “W” method involves rolling a “W” shape onto the wall, which helps distribute paint evenly and reduces visible lines or laps.
DIY tip: Roll in sections and overlap each area slightly to ensure an even coat.
16. Use an extension pole
Why it matters: Using an extension pole saves you time and allows better reach without needing ladders, reducing the risk of accidents.
DIY tip: Choose an extension pole with a comfortable grip and lock for easy adjustments while painting.
Adopting these professional techniques enables DIY painters to enhance the quality and efficiency of their projects, achieving results that rival those of experienced painters. Whether tackling a single room or an entire Walnut Creek, CA home, implementing these best practices will lead to a more enjoyable and successful painting experience.
If you have no time for DIY painting or don’t feel comfortable with the process, no worries! Contact Custom Painting, Inc. to do the job. Schedule a house painting service with us today at 925-686-0903 or on our contact page. We have all the necessary tools and techniques to get the paint job right on time and within budget.